PokePath TD Route 2-3 Ultimate Guide: Beating Suicune with Absol
Challenging mountain route with complex paths. The final boss Suicune requires a unique Absol scaling strategy due to extreme speed.
Route Guide
Welcome to the final challenge of Region 2. Route 2-3 is a deceptive map. It looks like a simple winding path, but the final boss, Suicune, is a speed demon that has ended countless runs.
In this guide, we will break down the map's unique geography, analyze Suicune's stats, and provide a step-by-step walkthrough of the "Absol Swap Strategy" that guarantees victory.
📊 Boss Profile: Suicune (Wave 100)
Before we build our team, we must understand our enemy.
- Name: Suicune (The Aurora Pokémon)
- Type: Water
- Speed: 1.5 (Extremely Fast). This is the highest speed stat you will face so far.
- Health: 69,000 HP.
- Armor: 0.
- The Threat: Suicune moves so fast that most "high damage, slow fire rate" towers (like Rampardos) will miss him entirely or only get one shot off.
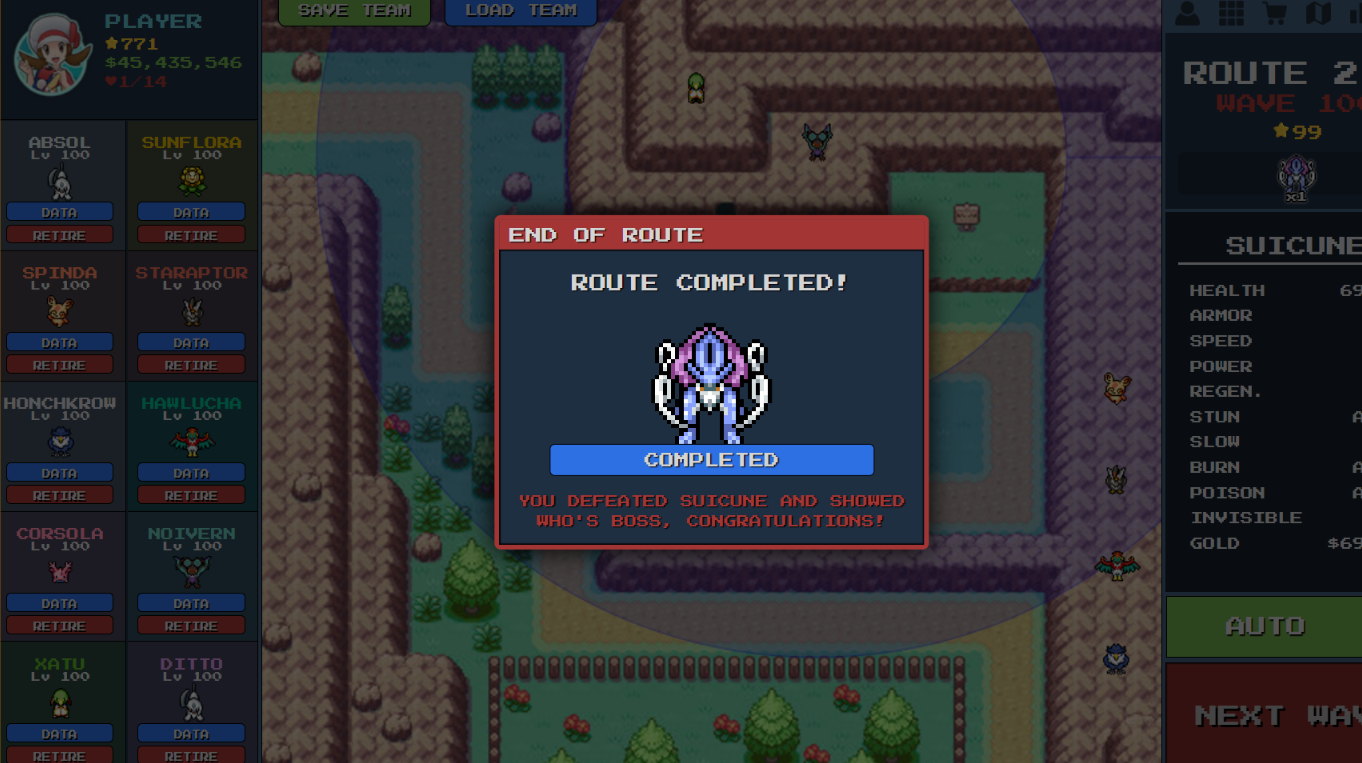
🗺️ Map Strategy: The "Z-Turn" Trap
Route 2-3 features a Z-shaped path that winds through rocky terrain.
- The High Ground (Perimeter): The map is surrounded by mountain tiles. This is excellent for Flying-types like Honchkrow, Noivern, and Xatu. They can provide global vision and damage.
- The Central Platform (Grass): This is the heart of your defense. Units placed in the center grass patch can hit enemies on the top path (Wave 1-50), the middle turn, and the bottom path (Wave 51-100).
- The Choke Point: The turn between the middle and bottom path is where Suicune is most vulnerable.
🏆 The Best Team: "The Absol Swap"
Our strategy involves using a standard AOE team for waves 1-99, and then making a tactical swap for Wave 100.
Phase 1: Wave Clearing Team (Waves 1-99)
For the majority of the level, you need Area of Effect (AOE) damage to clear swarms.
- Sunflora (Center): Provides +20% Damage Aura to everyone in the middle.
- Maractus (Center Grass): Your main wave clear. Its Grass-type attacks are super effective against the many Water types on this route.
- Staraptor / Hawlucha: Good physical damage dealers to clean up leaks.
Phase 2: The Boss Killer Team (Wave 100)
When Suicune appears, AOE damage is useless. We need focused, scaling single-target damage.
Absol (Level 100)
- The Mechanic: Absol's passive ability is "Consecutive hits on the same target increase damage."
- Why it counters Suicune: Suicune has 0 Armor. This means Absol's damage isn't mitigated. As Absol keeps hitting Suicune, the damage ramps up from 200 -> 400 -> 800 -> 1600. It becomes an exponential damage curve.
Ditto (Copying Absol)
- Strategy: Place Ditto next to Absol. Now you have TWO units ramping up damage. This melts Suicune twice as fast.
Phase 3: Speed Control
Damage means nothing if the target runs away.
- Corsola (Level 100):
- Why? With a 300 Range, Corsola's Slow Aura covers the entire Z-Turn. It reduces Suicune's 1.5 Speed to roughly 0.8, effectively doubling the time your Absols have to attack.
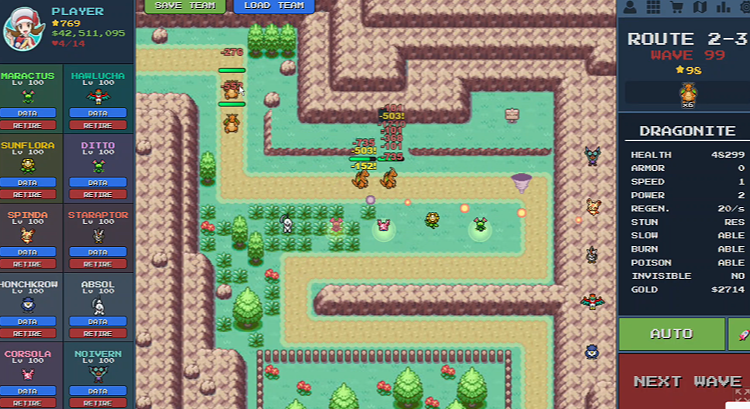
📝 Detailed Walkthrough
Early Game (Waves 1-40)
- Deploy Maractus in the center grass.
- Deploy Honchkrow on the top left mountain to catch invisible units.
- Start building your Corsola for slow support.
Mid Game (Waves 41-99)
- Add Sunflora to buff your Maractus.
- Add Staraptor or Hawlucha for extra DPS.
- Ensure your Ditto is leveled up and ready.
The Boss Fight (Wave 100)
- PAUSE the game as soon as the Wave 100 warning appears.
- SELL Sunflora. You need the slot and the money.
- BUY Absol. Place it in the most central position possible.
- CONFIGURE Ditto. Make sure Ditto is transformed into Absol.
- UNPAUSE.
- Watch as Suicune enters the map.
- Corsola applies the slow immediately.
- Double Absols lock on. The first few hits will be small, but watch the red damage numbers grow huge as Suicune rounds the first corner.
- Victory!
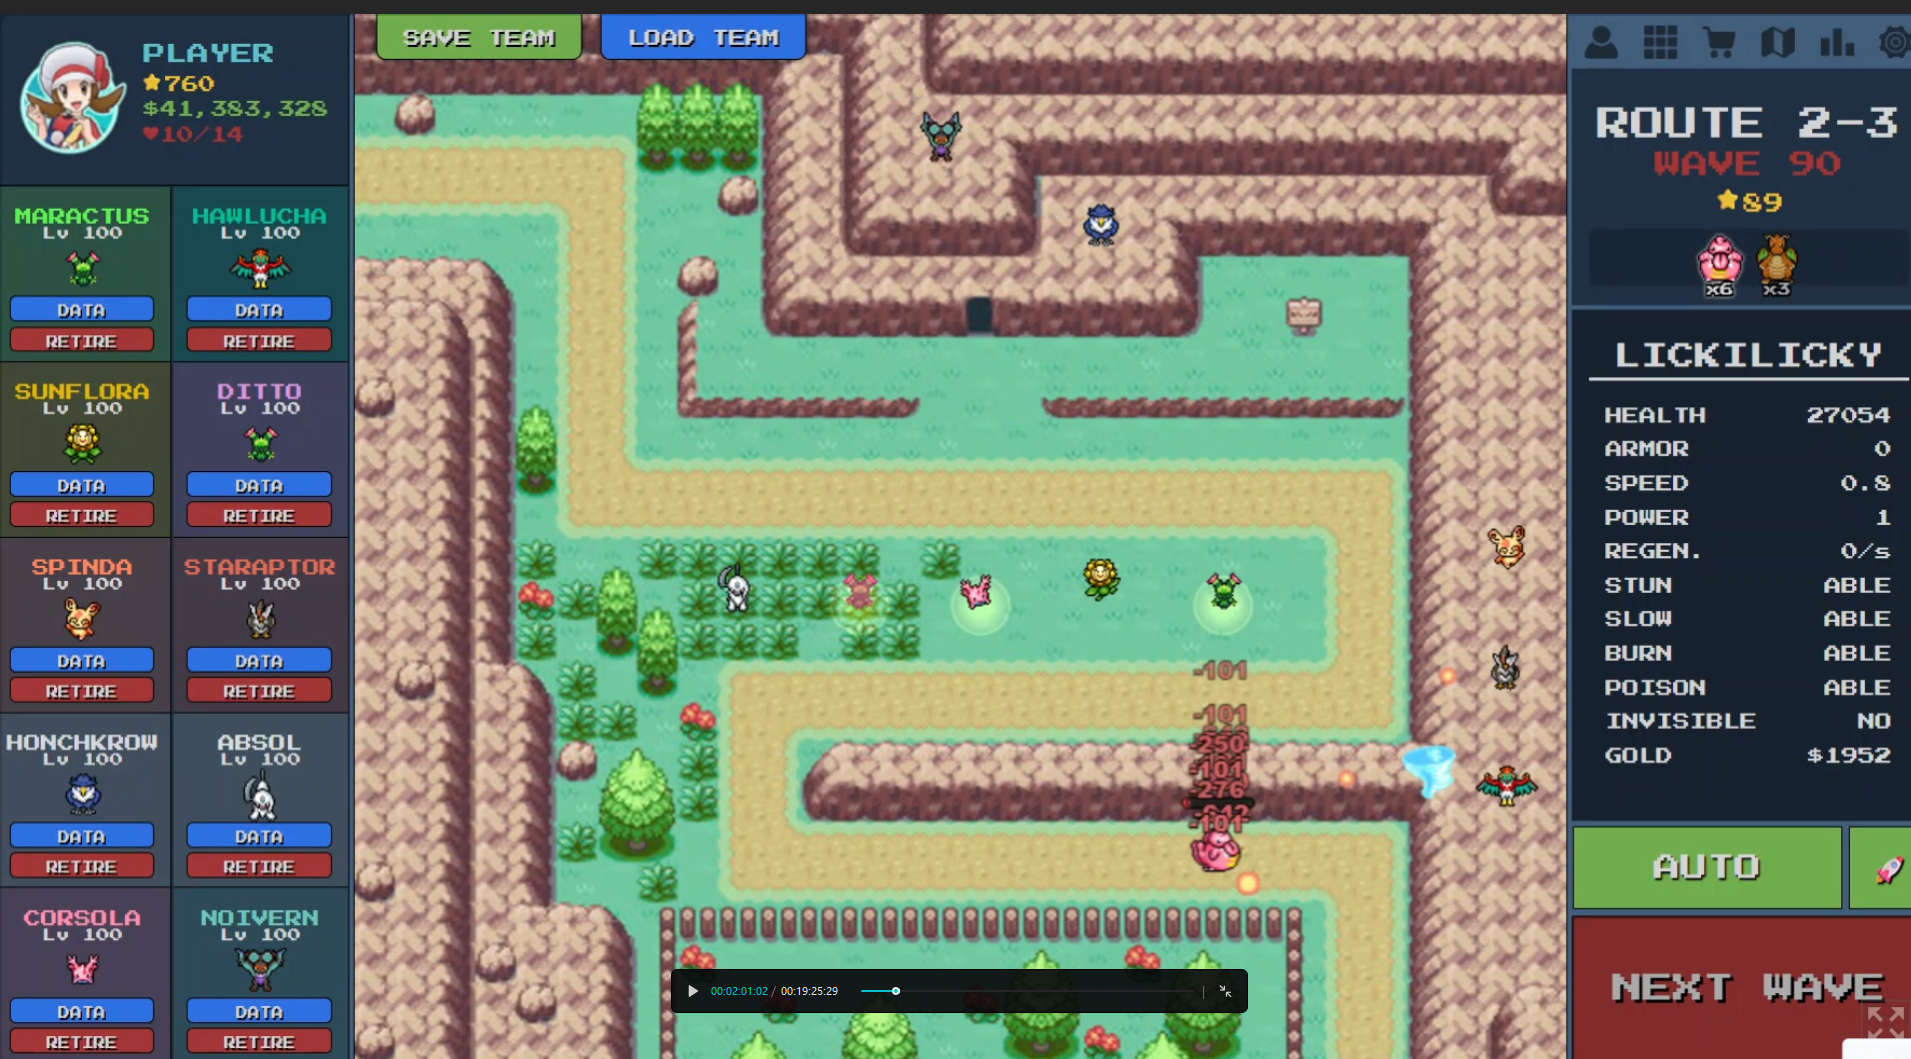
❓ Alternative Strategies
"I don't have Absol yet. What can I use?"
If you lack Absol, you can try:
- Electric Types: Use Manectric or Ampharos. Electric is super effective against Water (Suicune). A Level 100 Manectric deals massive damage.
- Grass Burst: Keep Sunflora and stack multiple Maractus or Sceptile. Grass is also super effective.
- Stun Lock: Use Ampharos and Lapras to try and permanently stun Suicune so he can't move.
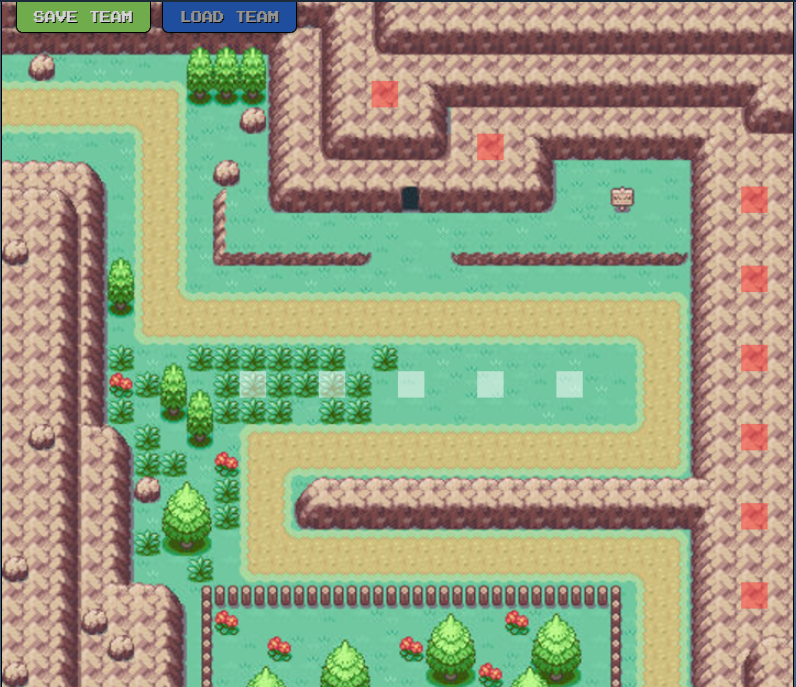
🗺️ Terrain Analysis
Route 2-3 features a Z-shaped path winding through rocky terrain with strategic high ground positions.
Roads & Paths
- Main Path: Complex mountain path with multiple branches (Very Long, 5 chokepoints)
- Underground Path: Underground tunnel path (Medium, 1 chokepoint)
Mountains & High Ground
- Towering Peaks: Towering peaks with multiple elevation levels (Very High strategic value) - +50% range bonus, can cover entire path sections
- Rocky Cliffs: Rocky cliffs and ridges (High strategic value) - +30% range bonus
- Mountain Plateaus: Mountain plateaus (Medium strategic value) - +15% range bonus
Strategic Chokepoints
- Mountain Peak: Highest point with panoramic view (Very High priority)
- Path Intersection: Multiple paths converge (Very High priority)
- Z-Turn Choke Point: Turn between middle and bottom path where Suicune is most vulnerable (Very High priority)
- Tunnel Entrance: Narrow tunnel entrance (High priority)
- Cliff Edge Turn: Sharp turn along cliff (High priority)
⚔️ Team Composition
Early Game (Waves 1-40)
Deploy Maractus in center grass and Honchkrow on mountains for anti-invisible coverage.
Mid Game (Waves 41-99)
Add Sunflora for damage buff, Staraptor/Hawlucha for DPS, and build Corsola and Ditto for boss fight preparation.
Late Game (Wave 100)
Swap to Absol team: Absol (core scaling damage), Ditto (copy Absol), and Corsola (speed control). Sell Sunflora to make room.
Related Tools
Map Overview
Terrain Analysis
Roads & Paths
Complex mountain path with multiple branches
Underground tunnel path
Mountains & High Ground
Towering peaks with multiple elevation levels
Rocky cliffs and ridges
Mountain plateaus
Strategic Chokepoints
Highest point with panoramic view
Multiple paths converge
Turn between middle and bottom path where Suicune is most vulnerable
Narrow tunnel entrance
Sharp turn along cliff